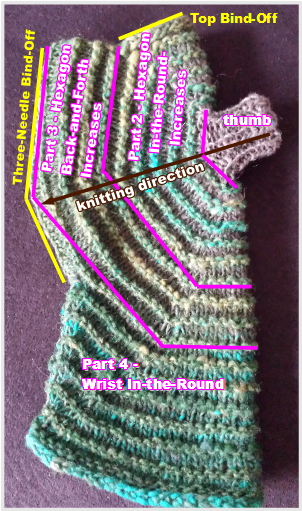
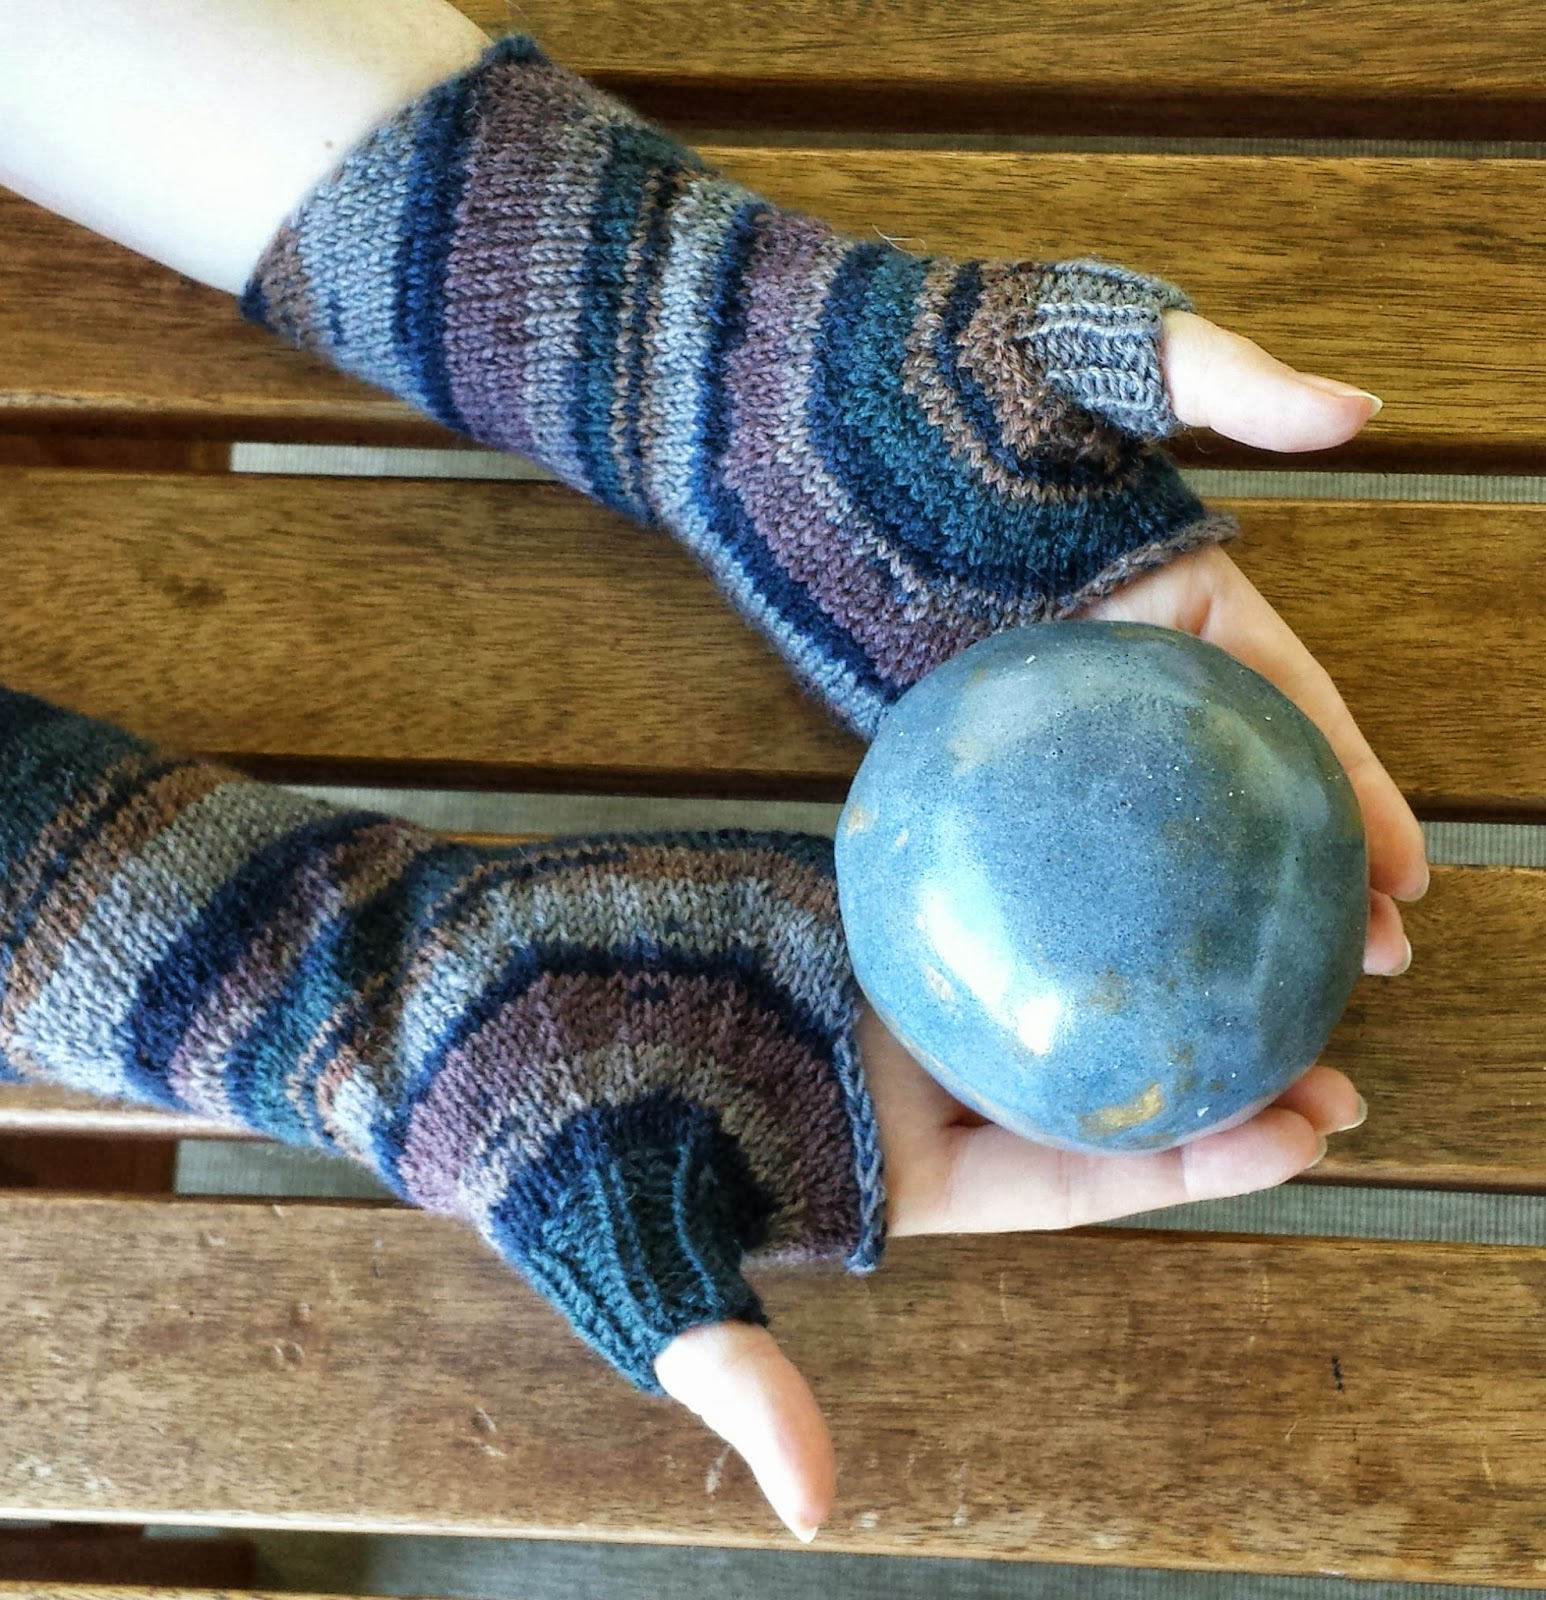
These mitts are started from the thumb –
increasing to form a hexagon. They are knitted in one part without cutting the yarn - switching from knitting in the round to back and forth and again to knitting in the round. They start with the thumb, i.e. the fiddly part is dealt with right at the beginning. The colour effect is achieved by changing the colour every other row.
Marianne Holmen from
strikkeglad.dk has written
a Danish translation of this pattern. Thank you very much or rather "mange tak"!
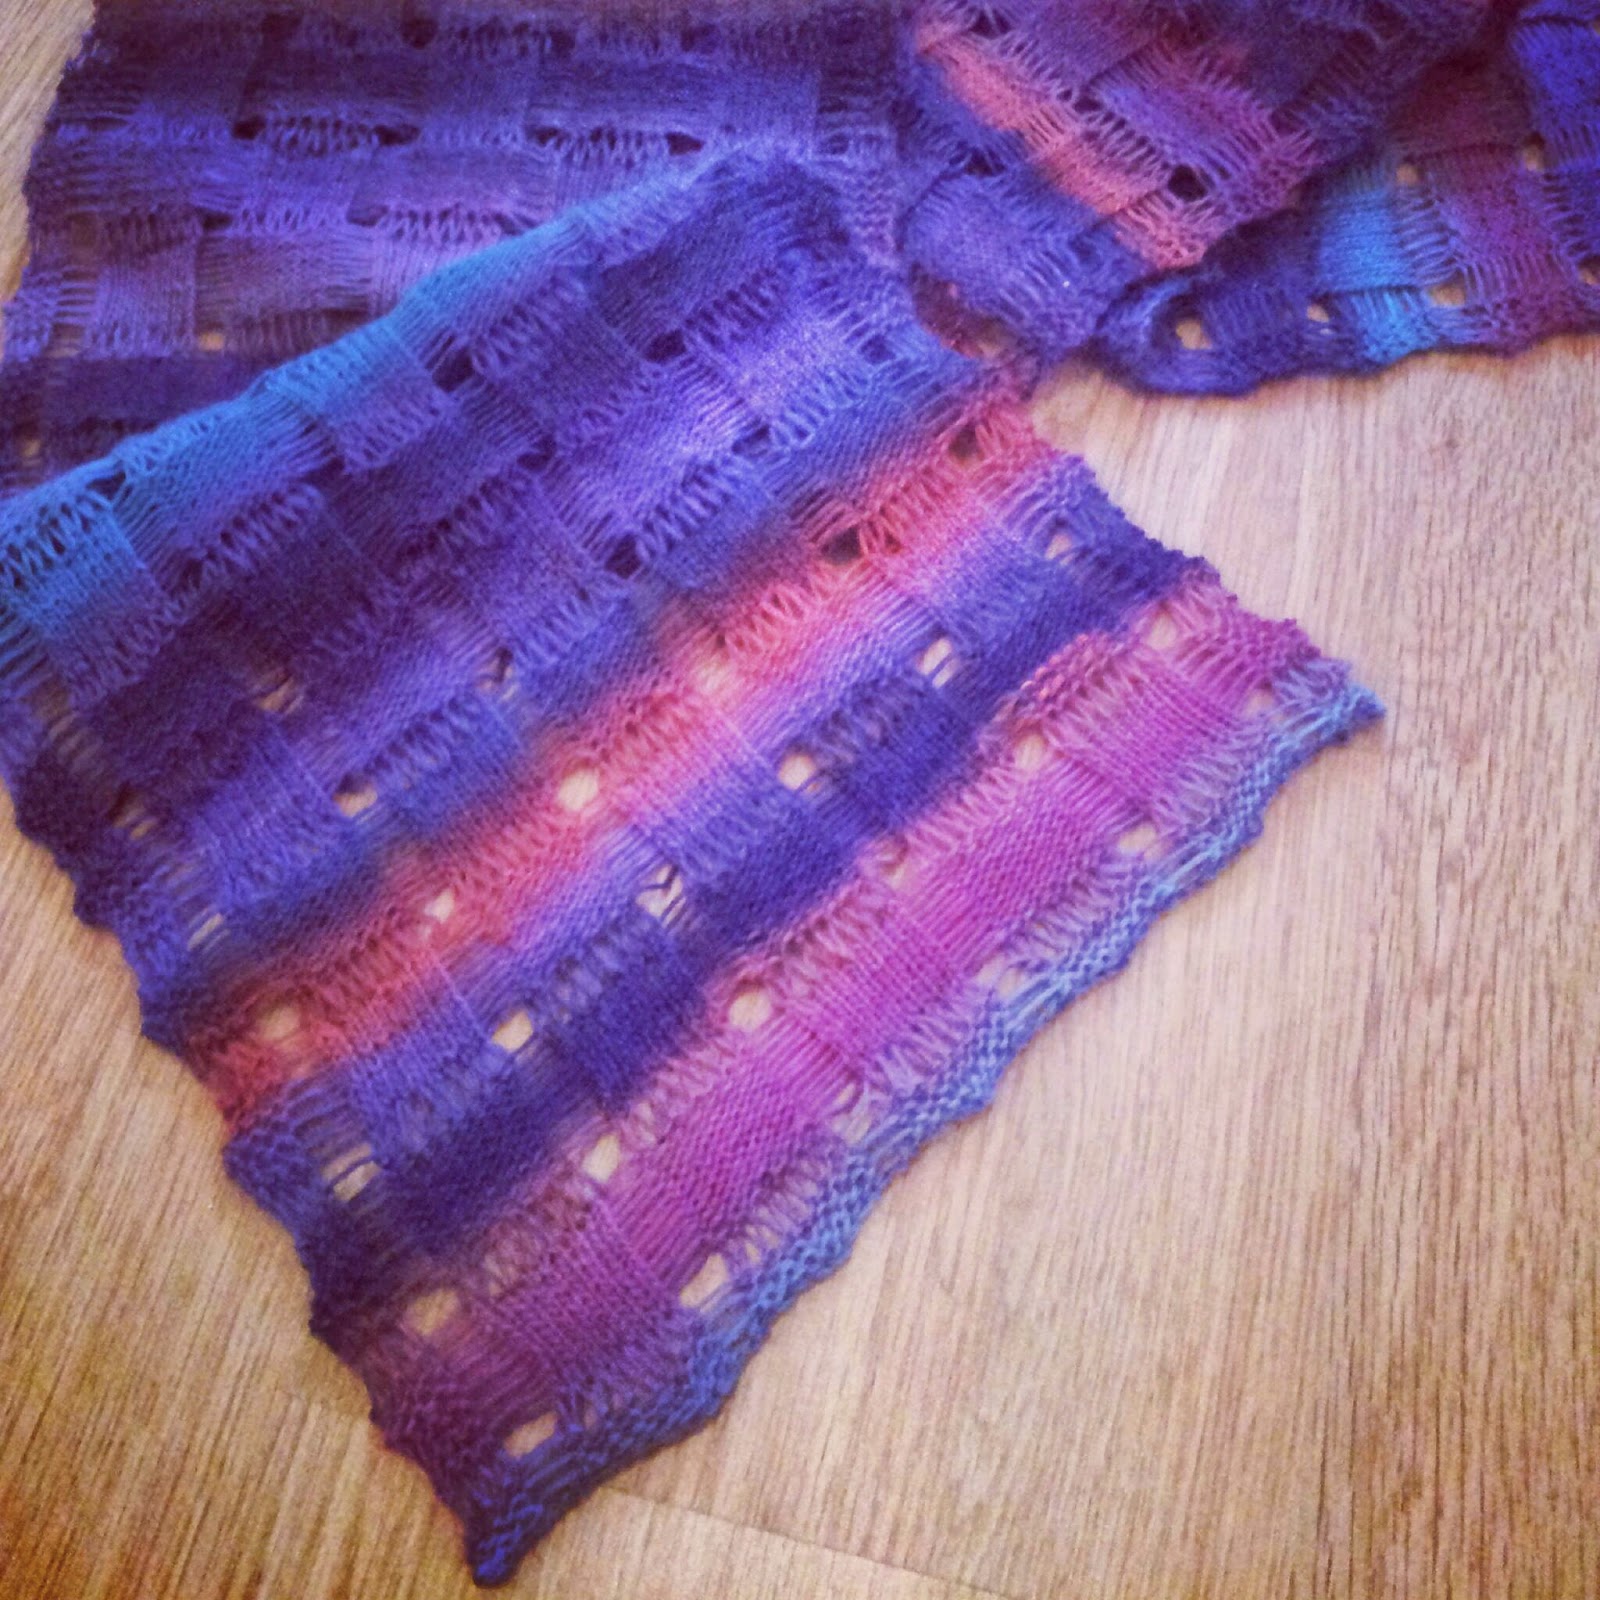
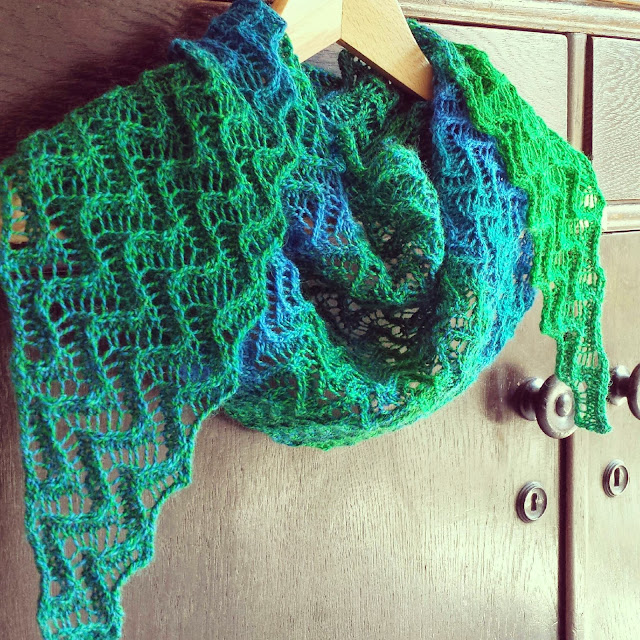
I have designed a
cowl in a chevron pattern to go with these mitts.


This work by
Knitting and so on is licensed under a
Creative Commons Attribution-NonCommercial-ShareAlike 4.0 International License.
Materials
- a total of about 30 grams of fingering weight yarn – either in two colours or two ends from one skein of variegated yarn
- 3mm dpns (if you prefer the magic loop technique you will need a 3rd needle for a three-needle bind-off)
- 7 stitch markers (1 different from the others; i.e. six “hexagon markers” & one “travelling marker”)
- a tapistry needle (to weave in the ends)
Techniques and Uncommon Abbreviations
Travelling Jogless Stripes (
more about this)
- To minimize the jog between the stripes, you can – when knitting the second round of a new colour – slip the first stitch of that round, place a marker and knit that round not until the old end, but until the newly placed marker. That way the end-of-round shift by one stitch. This technique will be used during part 2 of the pattern.
“Make One Purl”-Stitches (
a video that shows these stitches)
- mk1p right-leaning: make one purl stitch by inserting the left-hand needle from the back in the bar between the two stitches and purl through the front of the loop
- mk1p left-leaning: make one purl stitch by inserting the left-hand needle from the back in the bar between the two stitches and purl through the back of the loop
The Pattern
 Part 1 - Thumb
CO18 - with yarn A
Round 1: *p1 k1 p1 repeat from * to end
Round 2: *p1 k1 p1 repeat from * to end
repeat round 2 a total of 10 times
Round 12: *p1 place marker k1 p1 repeat from * – these 6 markers will be called „hexagon markers“
Part 2 - Hexagon In-the-Round-Increases
Round 1 (Yarn A): k
Round 2 (Yarn A): *k to marker mk1r slip hexagon marker k1 mk1l repeat from * to last marker then knit to the end of round
Round 3 (Yarn B): k
Round 4 (Yarn B): sl1 purlwise (re)place travelling marker; p to marker (i.e. also purling the stitch you slipped before)
Repeat these 4 rounds 5 times or until the height from thumb to the top is high enough for you - ending with round 2.
Top Bind-Off and moving from part 2 to part 3
With yarn B: *k1 sl1 repeat from * until you reach the first hexagon marker - stranding yarn A.
BO between the first and the second marker (use any stretchy bind-off techique that you like, e.g.
this) - while still stranding yarn A. Remove the two markers.
Knit until the end of this round then *k into stitch below k1 (repeat from * until you reach the first BO stitch - (you have just knitted the first stitches of this round again).
Remove travelling marker.
Turn and knit back one row with yarn B.
(A Note: I really (really, REALLY) don't like breaking yarn in the middle of a piece - and consequently having to weave in more ends. That's why I go to any length to avoid breaking yarn. In case of these mitts (because of the construction and the colour changes) the yarn is not always where it is needed to be. Therefore, I have used a few "cheats", i.e. stranding the yarn over the first bind-off or knitting in the stitch below. If you don't mind the cutting and the weaving in, you can alternatively break your yarns A and B, slip the stitches to the first marker, start binding off with yarn A there and so on ... )
Part 3 - Hexagon Back-and-Forth Increases
Row 1 (Yarn A, RS): k
Row 2 (Yarn A, WS): *p to one stitch before marker mk1p (left-leaning) p1 slip marker mk1p (right-leaning) repeat from * to last marker then purl to the end of row
Row 3 (Yarn B, RS): k
Row 4 (Yarn B, WS): k
Repeat Rows 1 to 4 a total of three times (or until the mitt is wide enough to fit your hand). Try it on to make sure.
Then knit one row with yarn A - while you're knitting that last row, place the travelling marker (right at the stitch in the middle between the first and second hexagon marker).
Three-needle Bind-Off and Moving to Part 4
To join the front and back of the mitt, do a three-needle bind-off until you reach the travelling marker (you are seeing the WS of your mitt.) - using yarn A and stranding yarn B. When you've reached the marker put the last stitch on the back needle. Turn your work inside-out to see the RS.
The first stitch of the round is the one you just knitted. Place an end-of-round marker and slip this stitch.
Still using yarn A, pick up a stitch from the bar between the two stitches, i.e. mk1r. Knit to the end of round. Pick up one stitch from the bar between the two stitches, i.e. mk1l.
Make the stitches around the end-of-round marker quite tight in order to avoid holes.
There are only three markers on your needle, the end-of-round marker and two hexagon markers.
Part 4 - Wrist In-the-Round
Round 1 (Yarn B): k
Round 2 (Yarn B): p1 p2tog p to marker p1 mk1p p to marker mk1p p to two stitches before end-of-round p2tog
Round 3 (Yarn A): k
Round 4 (Yarn A): k1 k2 tog k to marker k1 mk1l k to marker mk1r k to two stitches before end-of-round ssk.
Repeat these 4 rounds until there are only three stitches between the two hexagon markers.
With yarn B, k until the last stitch of round. Slip the next stitch, k2tog and psso.
With yarn B, purl one round.
In case the wrist part is not long enough for you, you can continue as follows until the desired length.
Part 5 (optional)
Round 1 (Yarn A): k
Round 2 (Yarn A): k
Round 3 (Yarn B): k
Round 4 (Yarn B): p
Bind-Off
Then bind off loosely with yarn A.
Weave in ends.


